외부 이미지 next/image 적용하기
외부 이미지 next/image 적용하기
next/image
Next.js에서는 최적화를 위해서 이미지를 나타낼 때 img 태그 대신 next/image 컴포넌트를 사용하라는 경고를 볼 수 있습니다.
next/image를 사용하면 다음과 같은 장점을 쉽게 얻을 수 있습니다.
webp와 같은 더 작은 용량의 이미지 포맷으로 이미지 서빙srcset을 이용하여 디바이스별 적절한 이미지 서빙placeholder제공으로 CLS(Cumulative Layout Shift) 방지
이번 포스팅에서는 placeholder에 대하여 중점적으로 다루어보겠습니다.
next/image에서는 다음과 같이 이미지에 대해 width,height 와 같은 메타데이터를 자동으로 추출하고 blurDataUrl도 생성해주는 것을 알 수 있습니다.
import Image from 'next/image'

import profilePic from './me.png'

export default function Page() {
  return (
    <Image
      src={profilePic}
      alt="Picture of the author"
      // width={500} automatically provided
      // height={500} automatically provided
      // blurDataURL="data:..." automatically provided
      // placeholder="blur" // Optional blur-up while loading
    />
  )
}
하지만 공식 문서에 따르면 메타데이터는 정적으로 import 된 이미지 파일을 기준으로 빌드타임에 생성하기 때문에 외부 이미지를 대상으로는 직접 메타데이터를 넣어주어야 합니다.
따라서 외부 이미지에 대해서 메타데이터를 처리하는 방법에 대해 알아보겠습니다.
Plaiceholder
"Plaiceholder" is a suite of server-side functions for creating low quality image placeholders (LQIP).
plaiceholder는 저화질의 placeholder 이미지를 서버 사이드에서 생성할 수 있도록 만들어진 라이브러리입니다.
단색, CSS, SVG, Base64 을 모두 지원합니다.
라이브러리를 설치하려면 이미지 전처리 라이브러리인 sharp 를 설치해야 합니다.
npm install sharp
npm install plaiceholder
외부 이미지에 대해 plaiceholder를 사용하기 위해서는 이미지 url을 통해 fetch한 후 버퍼로 만들어 전달하면 됩니다.
따라서 자바스크립트에서는 arrayBuffer로 만들어준 후 버퍼로 변경하여 전달할 수 있습니다.
또한 함수에 생성될 lqip 이미지의 사이즈 등 여러 속성을 전달할 수 있습니다.
import { getPlaiceholder } from 'plaiceholder';

export default async function getMetadata(imageUrl: string) {
  const res = await fetch(imageUrl);

  const buffer = await res.arrayBuffer();

  const { base64, metadata } = await getPlaiceholder(Buffer.from(buffer), {
    size: 8,
  });

  return { base64, metadata };
}
next/image는 blurDataUrl로 base64를 받으므로, base64에 대한 반환 값을 받아보겠습니다.
plaiceholder에서는 다음과 같이 base64와 메타데이터를 반환합니다.
base64: string;
metadata: {
    orientation?: number;
    format?: keyof sharp.FormatEnum;
    size?: number;
    space?: keyof sharp.ColourspaceEnum;
    channels?: sharp.Channels;
    depth?: string;
    density?: number;
    chromaSubsampling: string;
    isProgressive?: boolean;
    pages?: number;
    pageHeight?: number;
    loop?: number;
    delay?: number[];
    pagePrimary?: number;
    hasProfile?: boolean;
    hasAlpha?: boolean;
    exif?: Buffer;
    icc?: Buffer;
    iptc?: Buffer;
    xmp?: Buffer;
    tifftagPhotoshop?: Buffer;
    compression?: "av1" | "hevc";
    background?: number | {
        r: number;
        g: number;
        b: number;
    };
    levels?: sharp.LevelMetadata[];
    subifds?: number;
    resolutionUnit?: "inch" | "cm";
    formatMagick?: string;
    width: number;
    height: number;
};
또한, 외부 이미지를 서빙할 때 optimized 옵션을 적용하기 위해서는 해당 이미지 도메인을 remotePatterns에 등록해주어야 합니다.
module.exports = {
  images: {
    remotePatterns: [
      {
        protocol: 'https',
        hostname: 'example.com',
        port: '',
        pathname: '/account123/**',
      },
    ],
  },
}
이제 이 함수를 호출하여 Image 컴포넌트에 넣을 수 있습니다.
const GithubChart = async () => {
  const url =
    'https://cdn.pixabay.com/photo/2023/07/22/04/15/motorbike-8142649_1280.jpg'
  const { base64, metadata } = await getMetadata(url)

  return (
    <Image
      alt="motorcycle"
      width={metadata.width}
      height={metadata.height}
      src={url}
      blurDataURL={base64}
      placeholder="blur"
    />
  )
}
결과
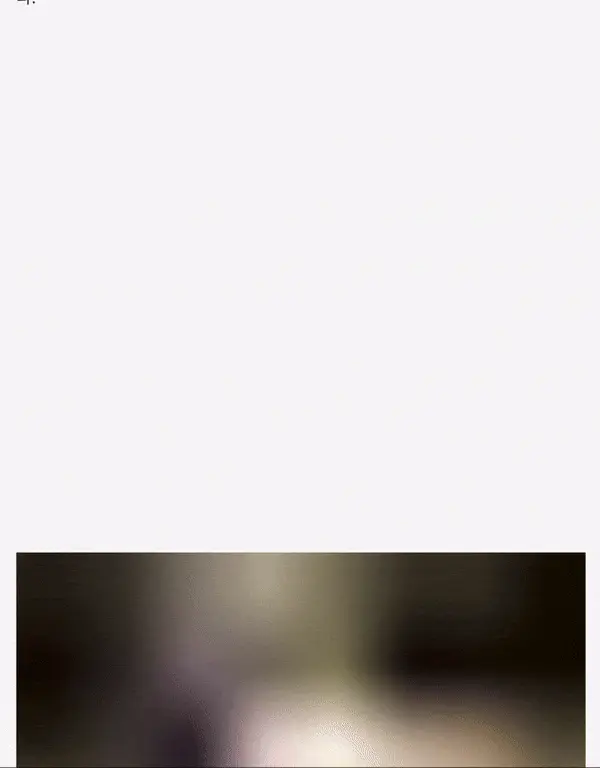

순서대로 plaiceholder X, plaiceholder O 에 대한 결과이며
결과 테스트를 위하여 Fast 3G 환경에서 실행하였습니다.
다음과 같이, 적용하지 않은 쪽은 이미지가 완전히 로딩되기 전까지 보이지 않으며 Layout Shift가 발생합니다.
따라서, next/image를 유용하게 사용하기 위해서는 해당 라이브러리를 사용하는 것을 고려해볼 수 있습니다.
또한 optimized 옵션을 적용했을 때 두 배 이상의 용량 차이를 보여주었습니다.
![]()
적용 사례
제 블로그에는, 해당 라이브러리를 사용하여 초기에 블러 이미지를 보여준 후 자연스럽게 트랜지션 되도록 사용하고 있습니다.

